Your salon website: create and publish
The site is built from the panel: services, prices, team. Five steps, legal details and a responsibility tick — and it is live, with online booking.
Create the salon website
A five-step wizard builds the site from what is already in the panel: services, prices, hours, team. Only the owner can do this. The wizard remembers where you stopped, so you can close it and come back.
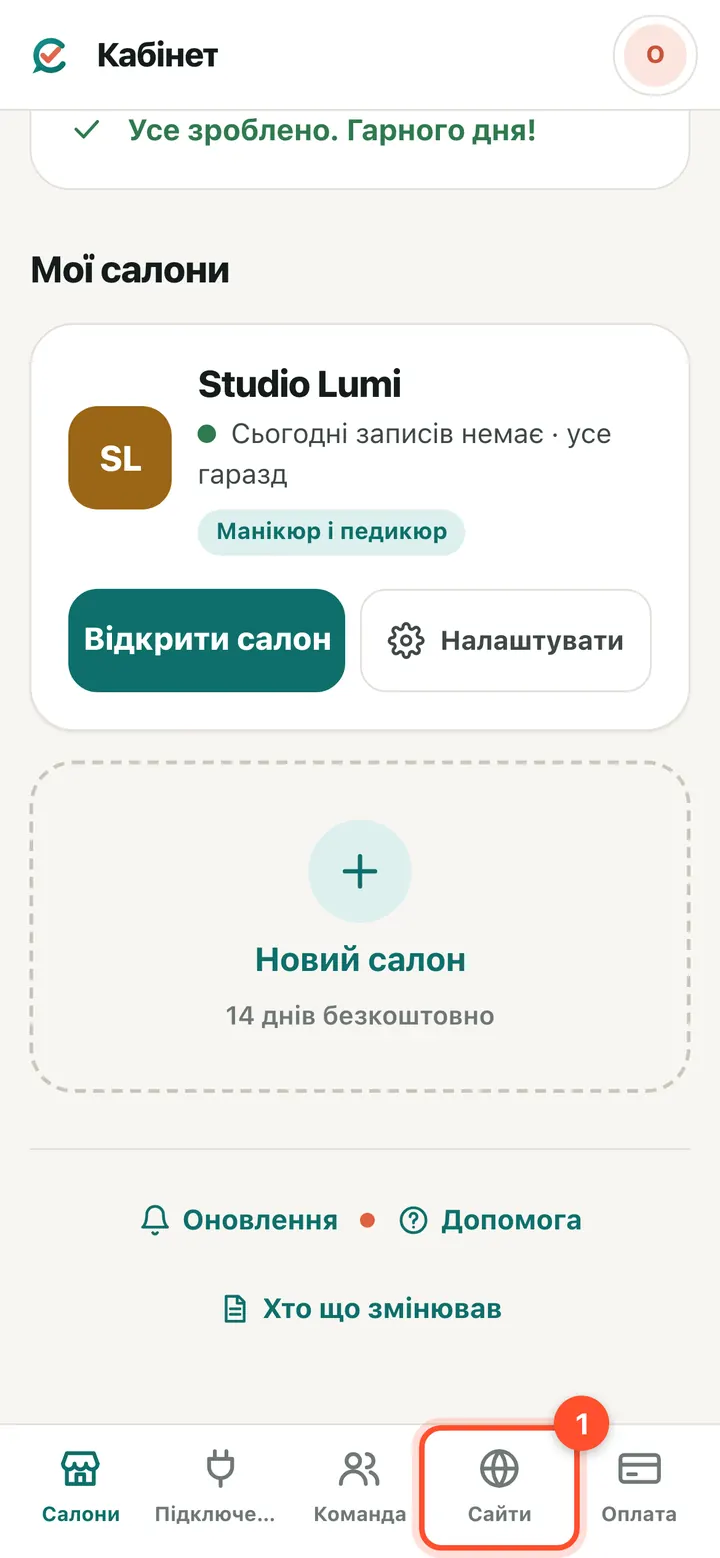
Owner console (app.citamate.com) → “Websites”.
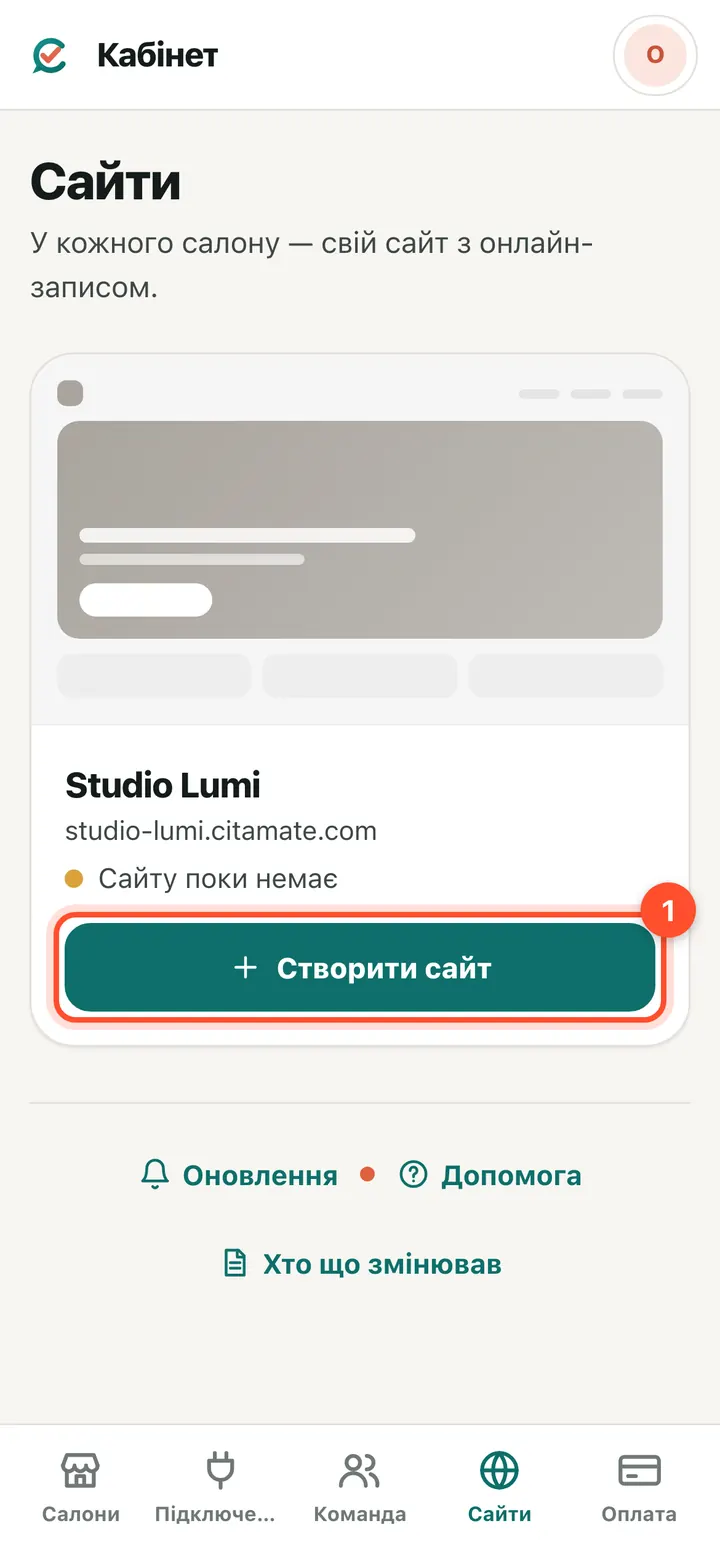
A salon without a site says “No site yet”. Press “Create site” — the salon panel opens with the “My site” wizard.
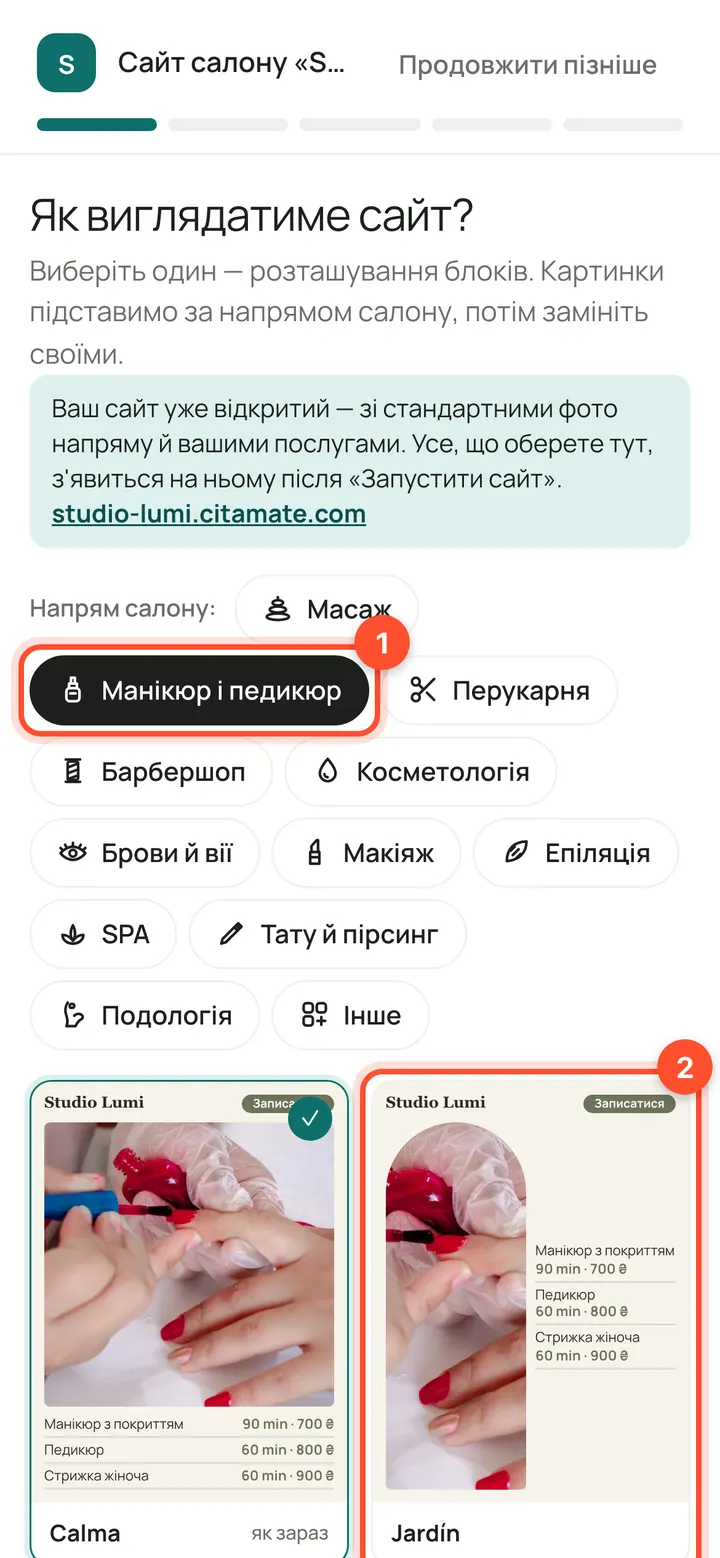
Step 1. Choose the salon's speciality and one of the templates — the layout of the blocks. Press “Next →”. The banner at the top says the site is already open with standard photos and your services; your choices appear on it after launch.
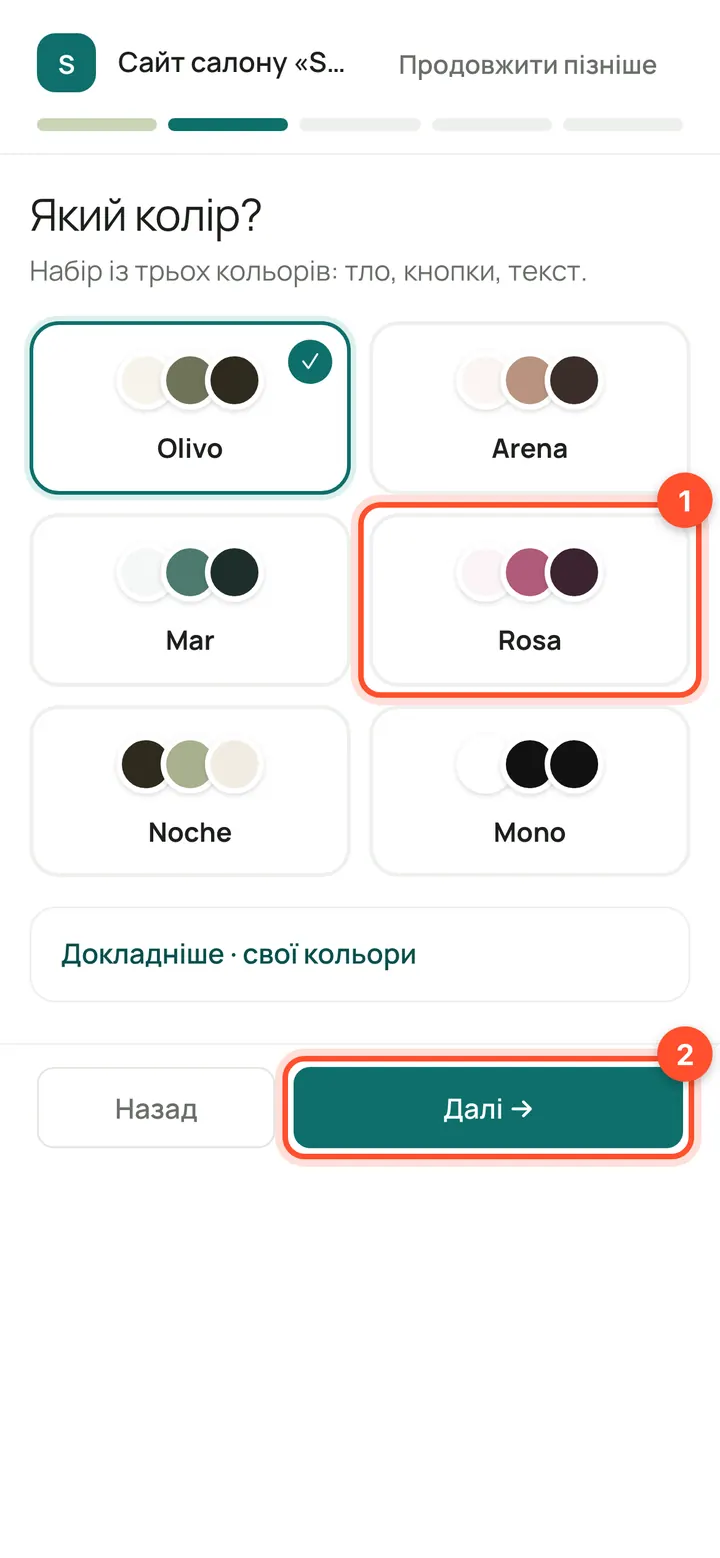
Step 2. Pick a set of three colours: background, buttons, text. Your own colours are under “More”. If the text is hard to read you get a warning, not a ban.
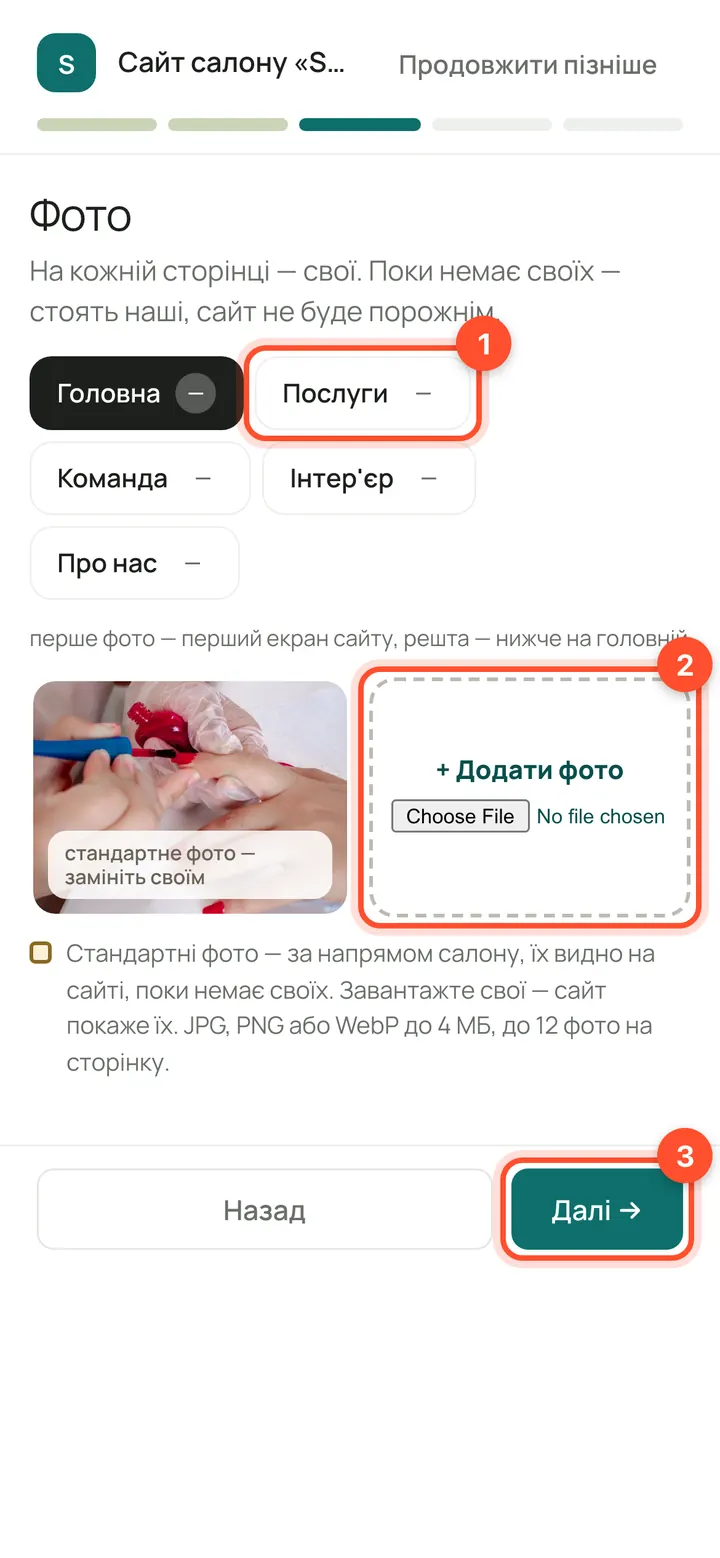
Step 3. Photos go page by page (tabs “Home”, “Services”, “Team”, “Interior”, “About us”). Until you have your own, standard ones are used, so the site is never empty. A file uploads as soon as you choose it: JPG, PNG or WebP up to 4 MB, up to 12 photos per page. You can add photos after launch too.
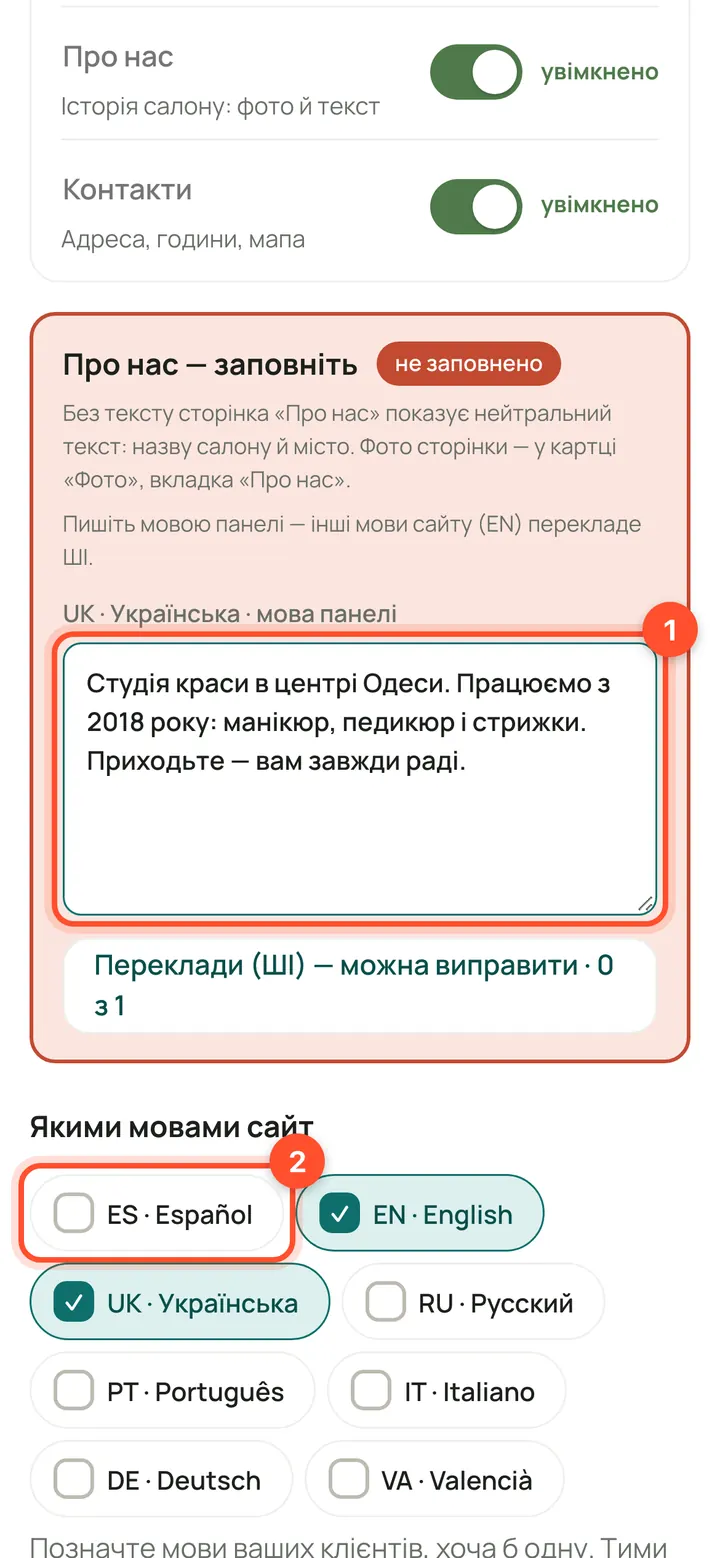
Step 4. Switch off pages you don't need (rename them if you like), write the “About us” text in the panel language and tick the site languages — at least one. The AI translates the other languages; if translation isn't connected, type the translations yourself.
Address, details and launch
Without the salon's legal details and the responsibility tick the site can't be launched or published — they feed the site's legal pages (Privacy policy, Terms, Cookies).
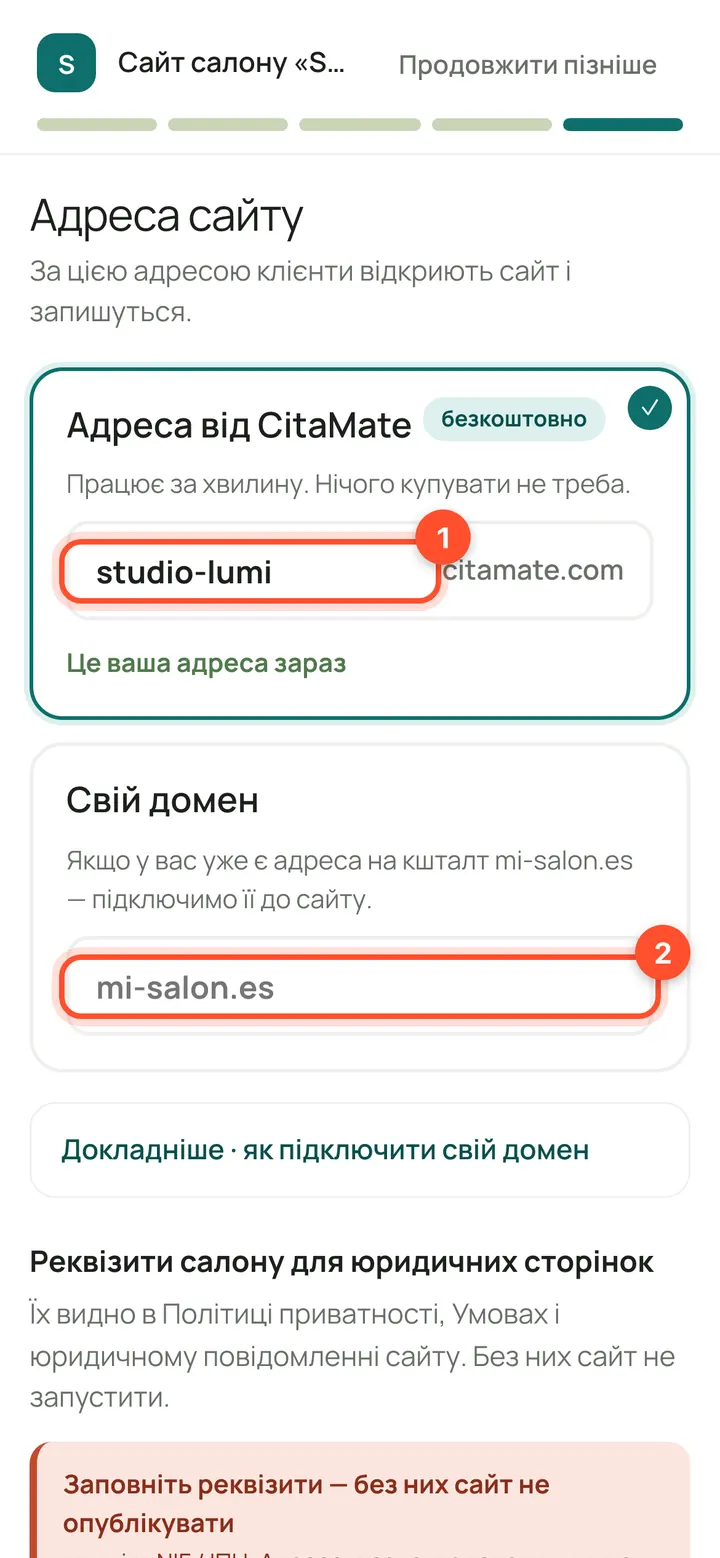
Step 5. Address. “Address from CitaMate” is free and works in a minute: type the word before .citamate.com. If you already have your own domain such as mi-salon.es, enter it under “Own domain” — we will connect it (see the domain section below).
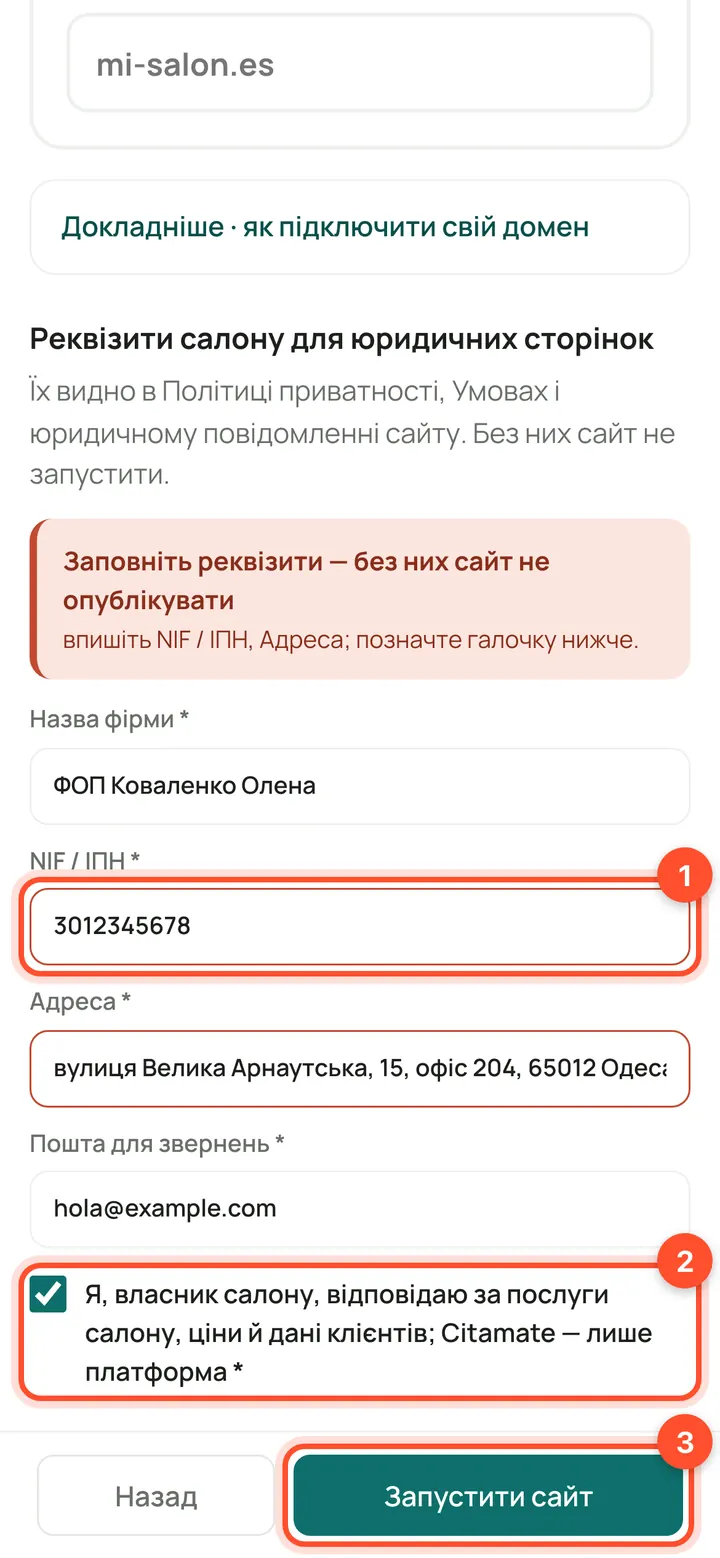
Below are the salon's details: company name, Tax ID, address, contact email. Tick “I, the salon owner, am responsible for the salon's services, prices and client data…” and press “Launch the site”.
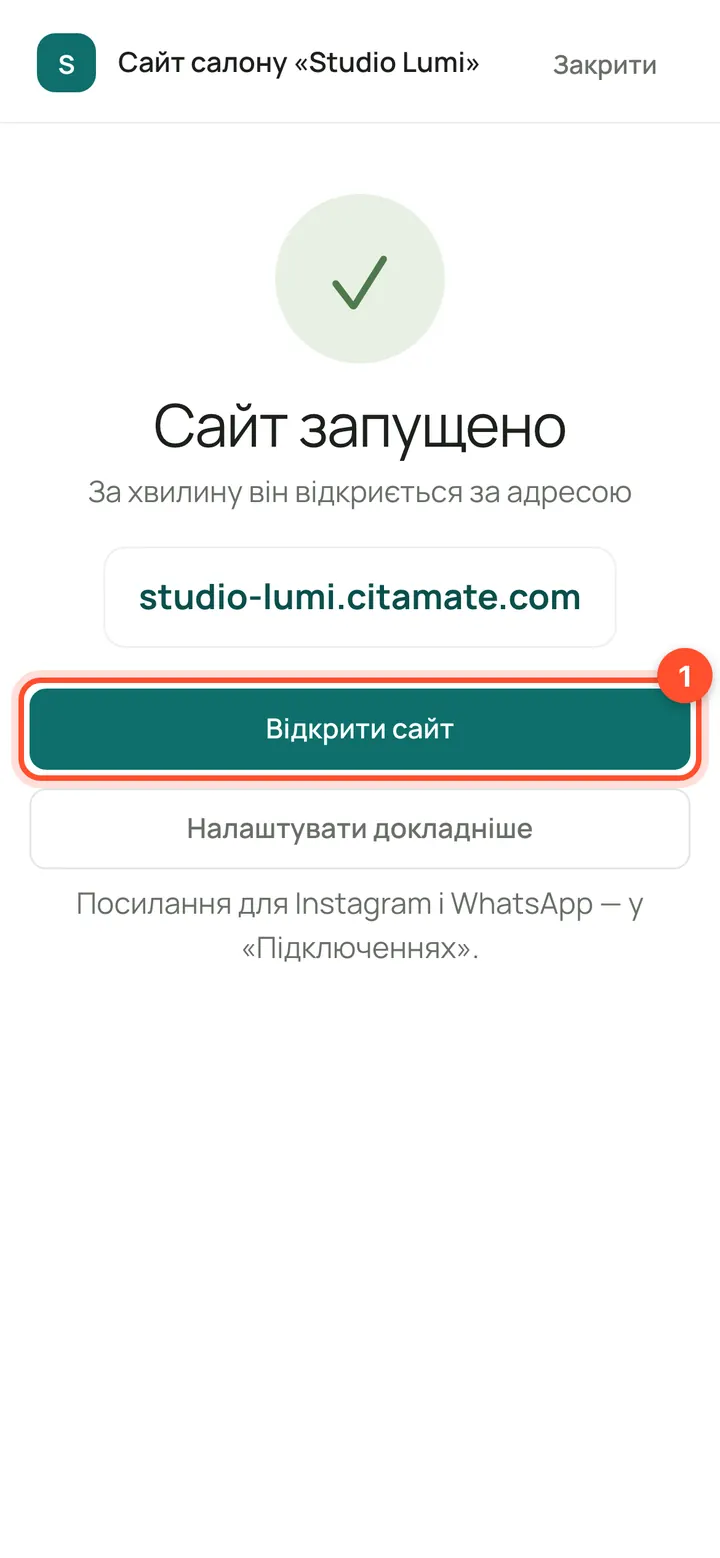
Done: “Site launched” with the address below. “Open site” opens it, “Fine-tune” opens the “My site” editor. The site takes a minute or two to build.
What you get and how clients book
The site shows your services with prices, the team, contacts and online booking. Booking takes services, specialists and time from the panel, so there is nothing separate to maintain.

This is the finished site in the template and colours you chose. A “Book an appointment” button is in the header and on the home page.
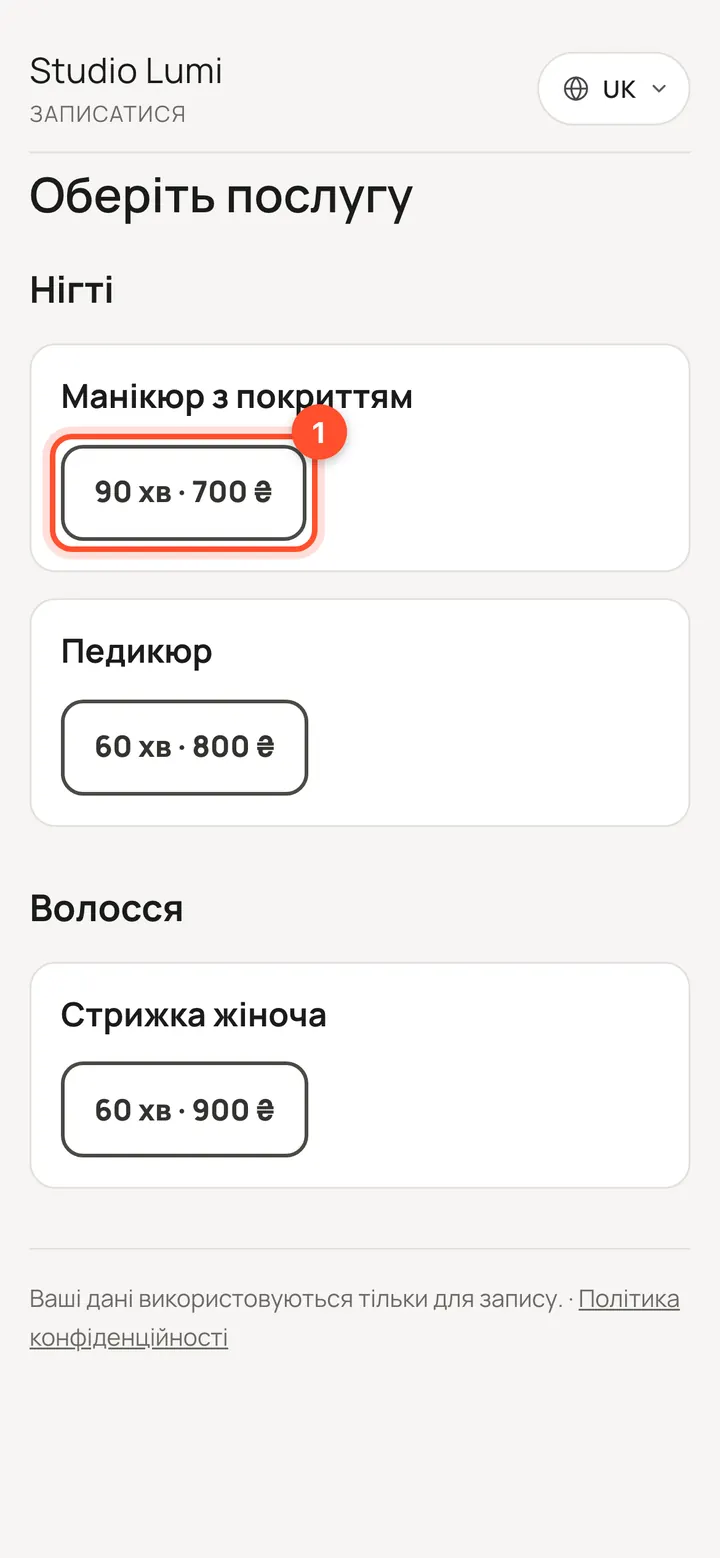
“Book an appointment” opens online booking: the client picks a service, then a specialist, day and time.
Change the site and publish
After launch the site is edited in “My site”. Changes first go to a draft — the live site changes only after “Publish changes”.
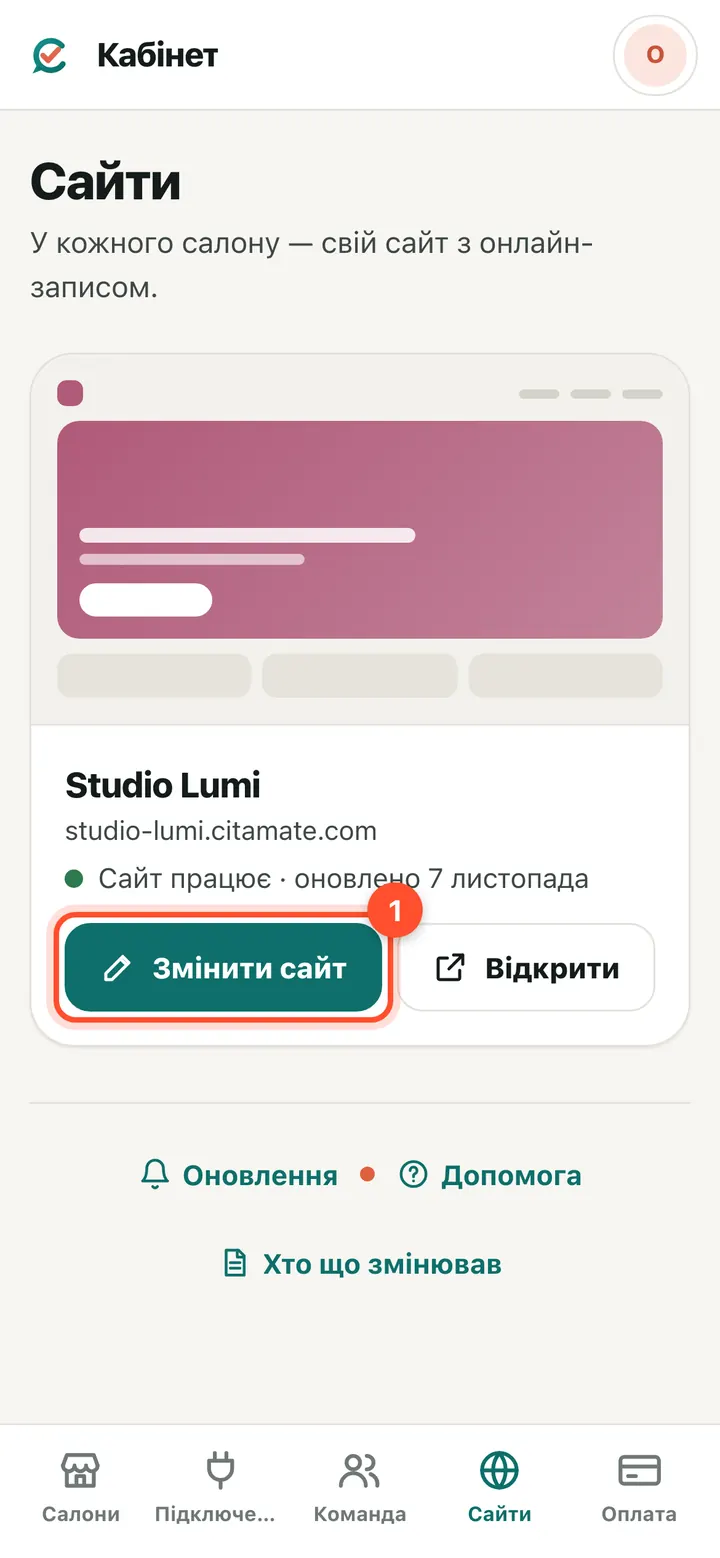
Owner console → “Websites”: the salon now says “Website is live” with the update time. “Edit website” opens the “My site” editor in the salon panel, “Open” opens the site itself.
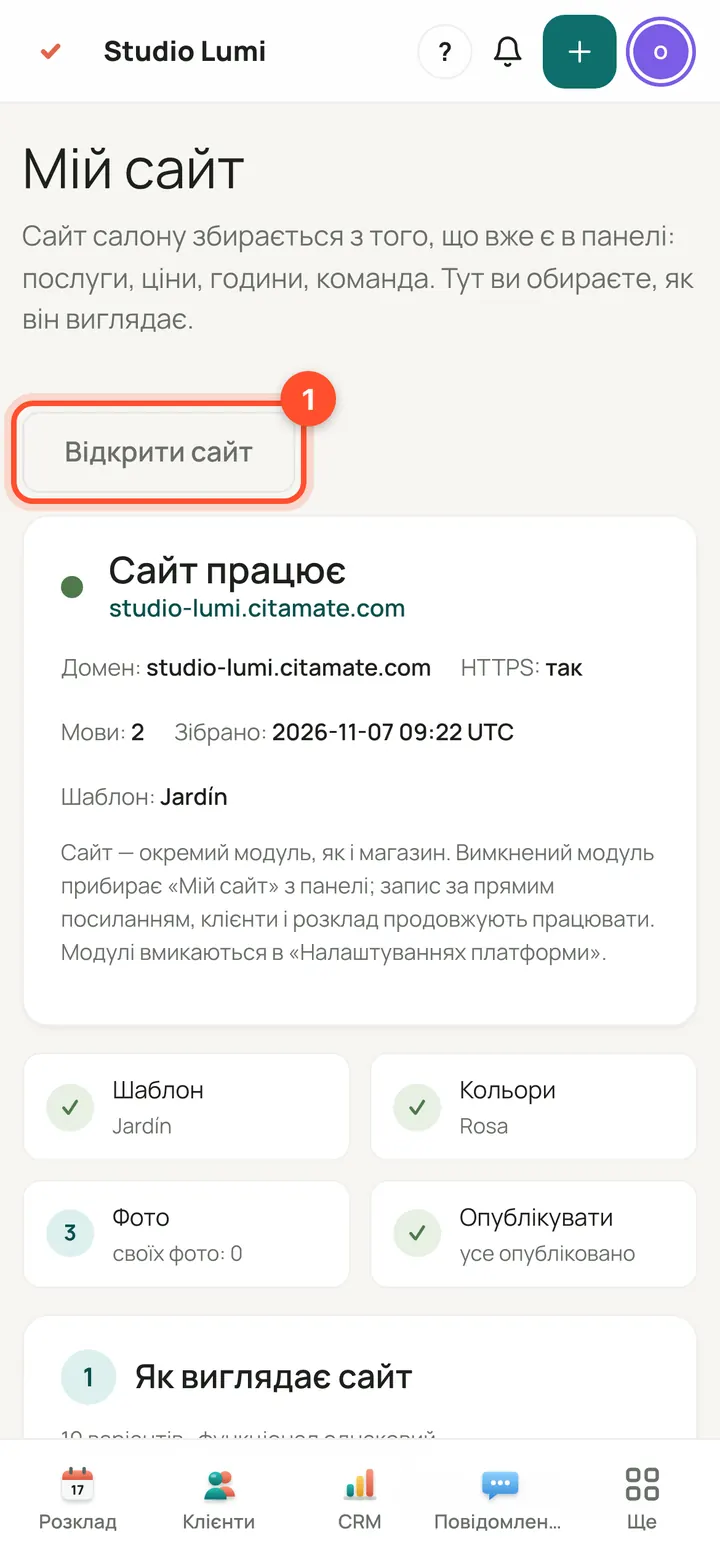
At the top of the editor is the site status (address, languages, build time, template) and “Open site”. Below are the cards: look, colour, photos, pages and languages, address, legal texts. Once the site is launched, “My site” is also in the owner's panel menu, under “Salon”.
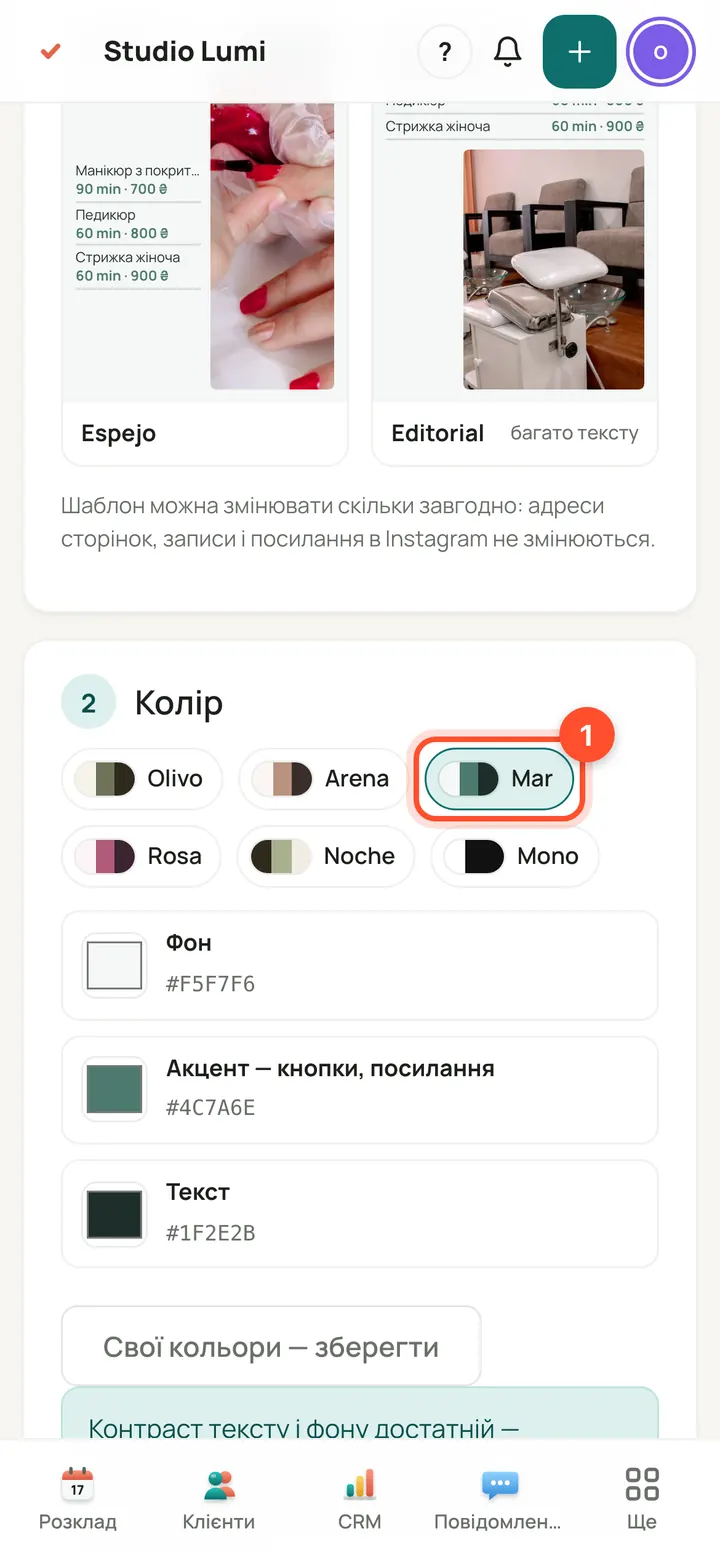
For example, pick another colour set in the “Colour” card. The change goes to the draft.
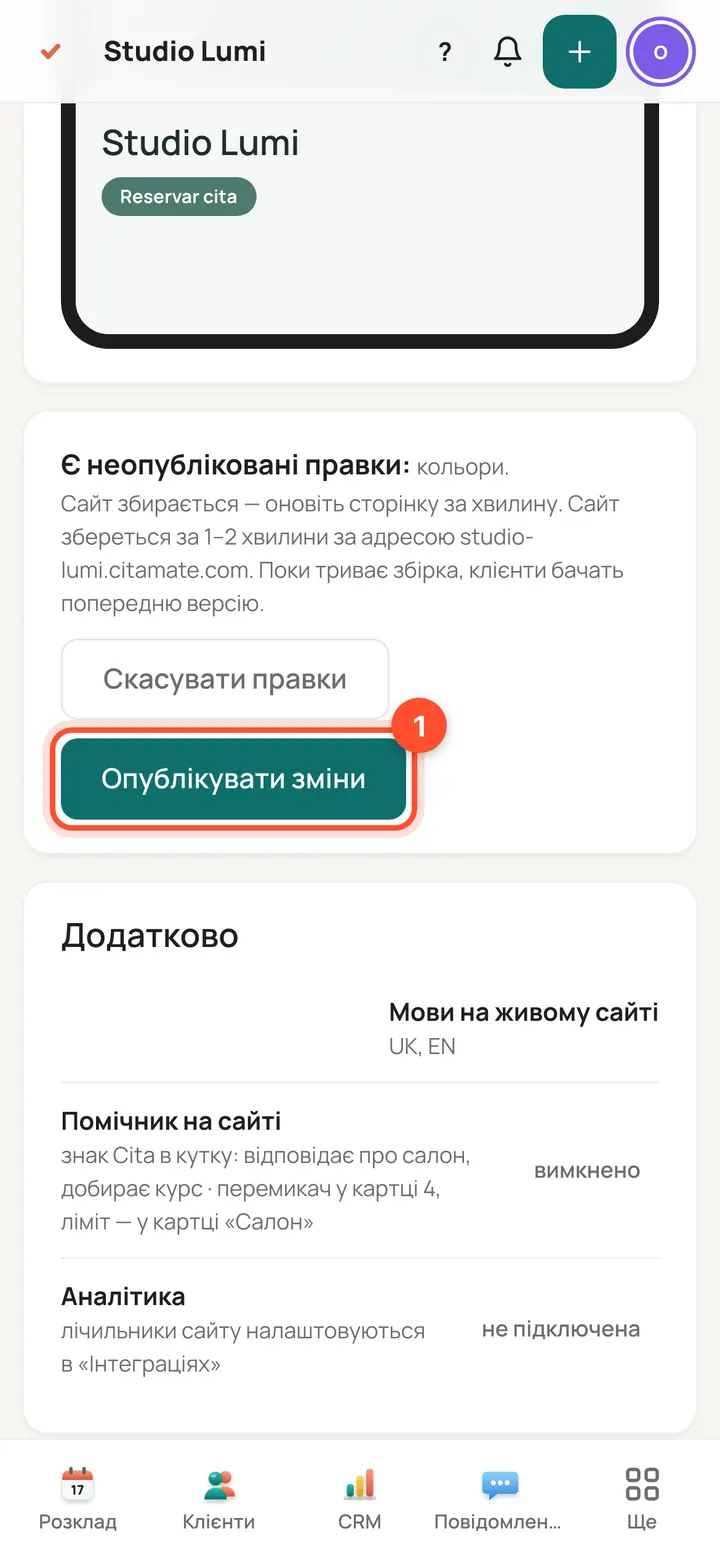
“There are unpublished changes” appears at the bottom. Press “Publish changes” — or “Discard changes” to go back to how it was.
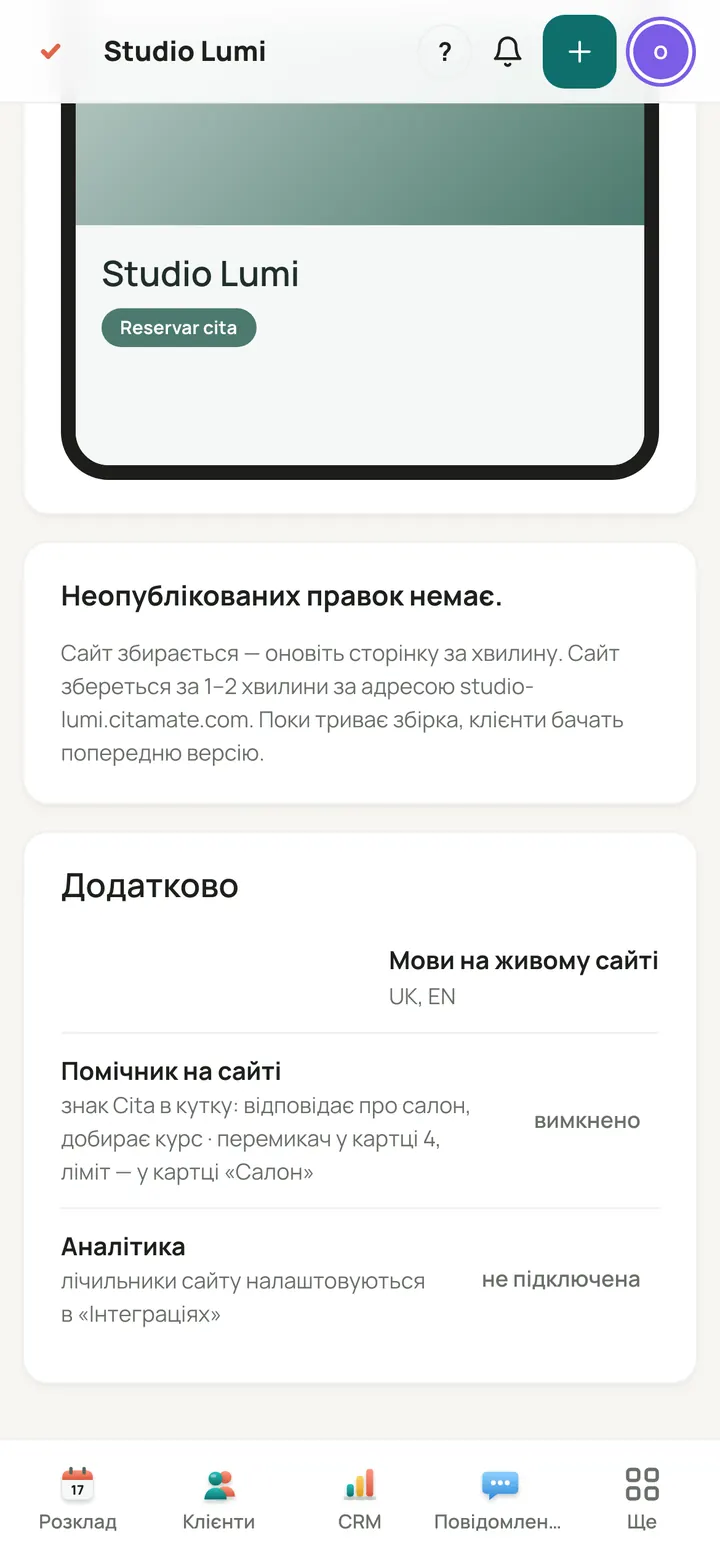
The site rebuilds in 1–2 minutes; meanwhile clients see the previous version. Then the change is live.
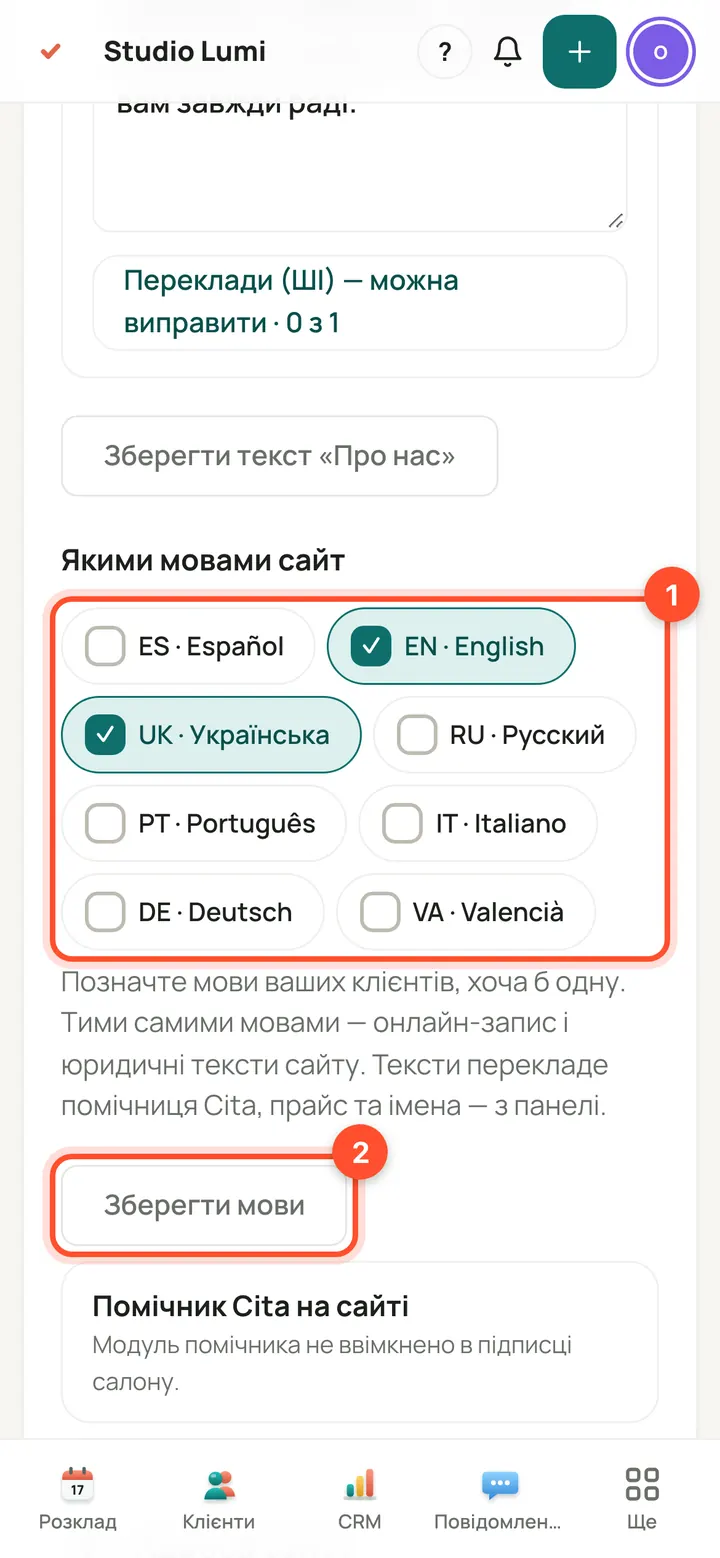
Site languages are in the “Pages and languages” card, “Site languages” block: tick the ones you need (at least one) and press “Save languages”. Online booking and the legal pages use the same languages. The change reaches the site after “Publish changes”.
Connect your own domain
The domain stays yours — bought from any registrar. Until it is connected, the site runs on the CitaMate address and clients notice nothing.
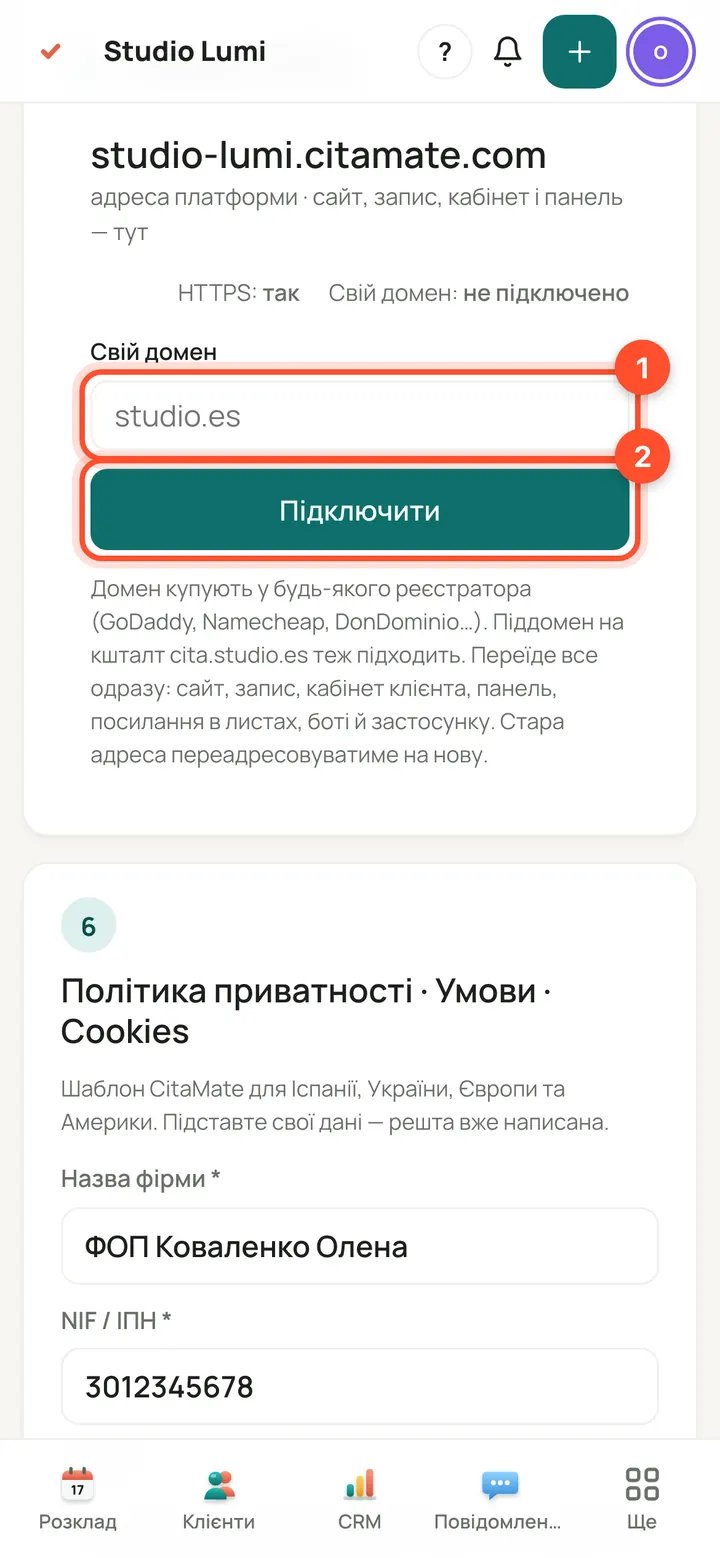
“My site” → “Site address” card. Enter the domain under “Own domain” and press “Connect”.
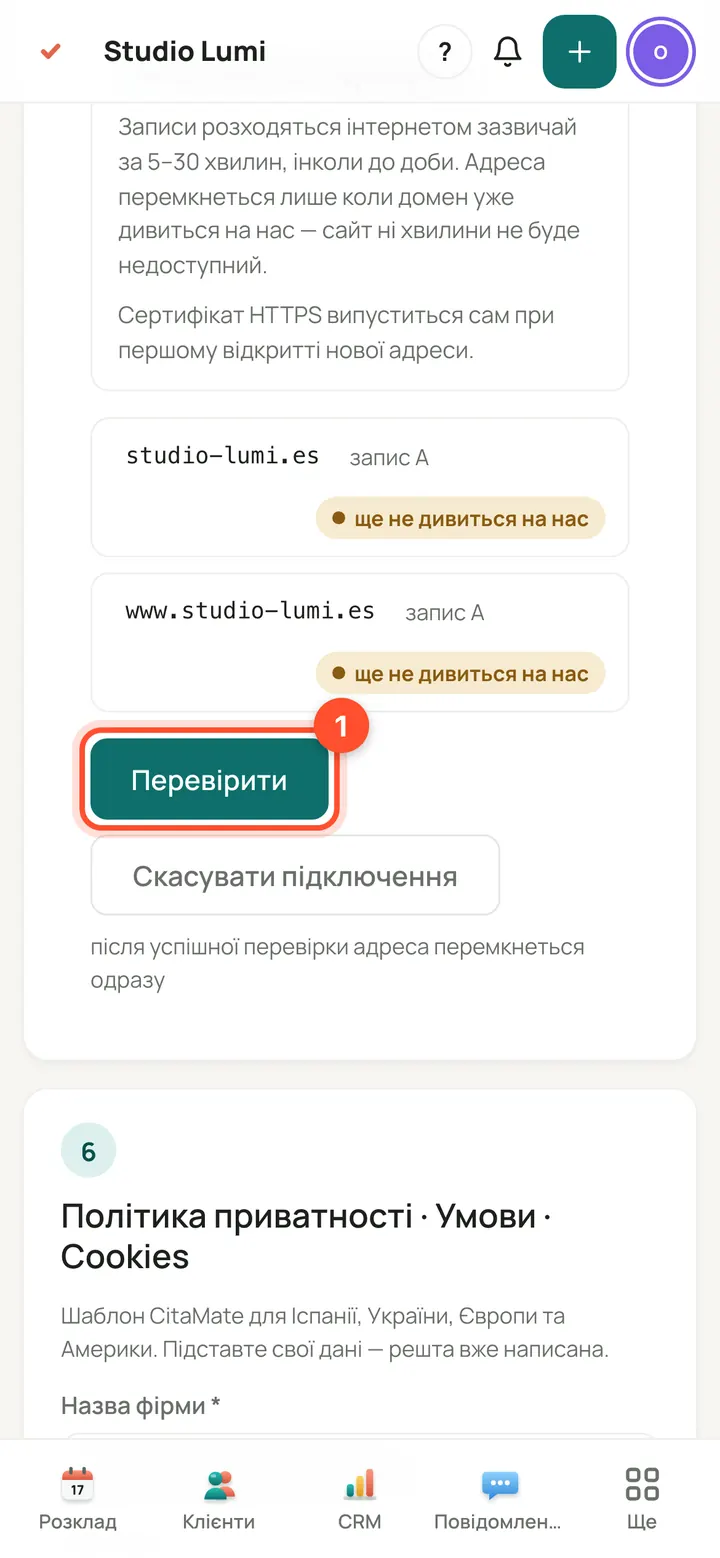
You will see the status “waiting for DNS” and instructions: at your registrar add A records for “@” and “www” with the value shown. Then press “Check”. The address switches only once the domain already points to us; the old address redirects to the new one and the HTTPS certificate is issued automatically. Changed your mind — “Cancel connection”.
Questions
Can I launch without the legal details?
No: without the details (company name, Tax ID, address, email) and the responsibility tick the site can't be launched or published. A site that is already published stays up, but the next publication is blocked without them.
“Launch the site” is disabled. Why?
Online booking needs at least one enabled service with a duration and a price. Turn a service on and set its price in “Services” — the banner in step 5 links there.
Who can create and edit the site?
Only the salon owner. “My site” is not available to an administrator or a specialist.
My change is not on the site.
Changes stay in the draft until you press “Publish changes”. After that the site rebuilds in 1–2 minutes. “Discard changes” returns to the published version.
What if the domain isn't connected yet?
Nothing breaks: while we wait for DNS, the site and booking work on the CitaMate address. The address switches only after a successful “Check”. You can return with “Go back to the platform address”.